
The girls and I have been busy creating a series of seasons sensory bottles to represent summer, autumn, winter and spring. Our DIY summer sensory bottle is one of the easiest sensory bottles to create and the only one we've ever made with both dry and wet sensory items.
If you're learning about seasons, or want a fun summer themed activity to do over the holidays or at summer camp, follow our step by step instructions to make your own summer sensory bottle.

SUMMER SENSORY BOTTLE FOR KIDS
When we think about summer, especially here in Australia, we immediately think of hot days and the bright sunshine. So we decided the summer sensory bottle should represent a blue summer's day with some clouds and the sun shining bright in the sky.
Unlike most of the other sensory bottles we've made, this one is not designed to be shaken. The summer bottle is simply to look at as it represents a summer day without needing any movement. The differences in the sensory elements used in the bottle still provide lots of visual stimulation.
Supplies to make a summer sensory bottle
- Water
- Plastic bottle {we use Voss}
- Blue water beads
- White cotton balls
- 1 large yellow pom pom
- Tape or glue gun

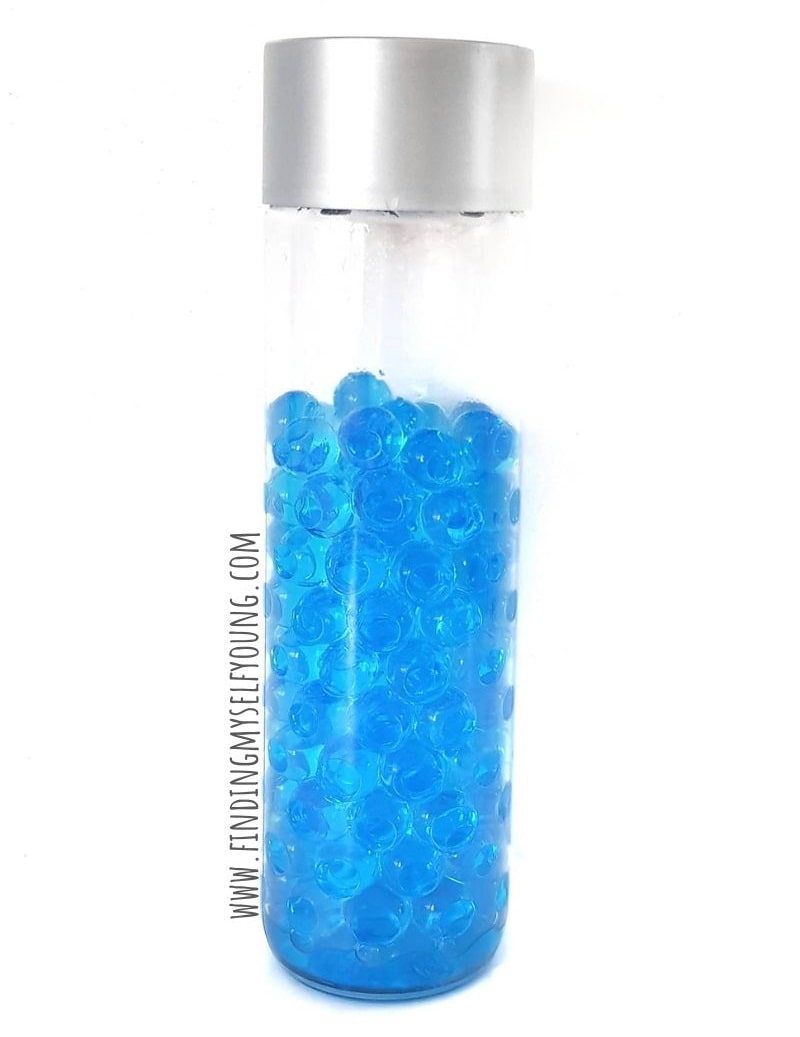
When I came up with the design of our summer sensory bottle I wanted it to look like a blue summer sky, but I didn't want to use water as I knew I was going to use cotton balls and pom poms in the top, which as you can imagine would not work well in water. I also needed to use something solid and blue in the base so the clouds and sun would stay at the top of the bottle. After looking through what we had at home I decided on blue water beads as they would fill the space, stay blue and the cotton balls don't suck the moisture out of them.
I feel ok using water beads within a sensory bottle because I know my children won't be able to touch the actual beads so there's no chance of accidental choking, however I understand not everyone is comfortable using them for play. You could always substitute the water beads with blue pom poms or blue shredded paper, or you can make a batch of blue sensory rice.
How to make a summer sensory bottle
1. Fill water bottle half way to 3/4 full with water. The water will be used to make the water beads expand inside the bottle.
2. Add blue water beads to the bottle. Wait over night for them to expand. You'll need at least 50 water beads but may need up to 100 depending on the size of the plastic bottle you're using. The aim is to have the expanded water beads fill up 3/4 of the plastic bottle. Keep in mind the water beads will expand to at least 10x their dehydrated size.

The water beads will take up to 8hrs to fully expand so it's best to do this step the night before you want to use the sensory bottle. Alternatively you can make the bottle over 2 days and use the expansion process as a fun observation for children to watch how the water beads change from one day to the next.
3. Empty any excess water so only the expanded water beads remain. You may find once the water beads are expanded there is some excess water in the bottle, simple pour this water out of the bottle as it's no longer needed.
4. Add cotton balls on top of water beads. These cotton balls will represent some cloud cover.
5. Add large yellow pom pom. The yellow pom pom represents the sun and should sit at the very top of the sensory bottle.

6. Seal the bottle. You can seal the bottle with tape on the outside after the lid is shut, or put a layer of hot glue inside the bottle rim before securing the lid and it will seal it shut once it dries. This step is important so children cannot access the water beads.

You may find over time that the bottle will have some condensation in it and occasionally some water in the bottom. This is a great opportunity to use the summer sensory bottle to teach children about the water cycle.
What's happening is minute amounts of water will slowly be leaking from the water beads and as the temperature inside the bottle rises during the day this causes that moisture to turn into water vapour. Eventually that rises into the top of the bottle {incidentally where the cotton ball clouds are} where it condenses and turns back into it's liquid state which causes the condensation on the bottle.
This is similar to what happens when the sun heats the ocean causing water to evaporate, which then causes clouds to form in the sky. Once the water has condensed enough inside the clouds it will then turn back into liquid and become rain, returning to the ocean.


SEASONS SENSORY BOTTLES
If you're teaching your children about seasons or the weather and you want to make your own set of seasons sensory bottles, have a look at our step by step instructions for our autumn/fall, winter and spring sensory bottles.
Learn how to make a falling leaves autumn bottle here. Get the instructions for a frozen winter snowflake bottle here. Create a blooming spring flower bottle with our directions here.

More Sensory Bottle Ideas
Disclosure - This post contains some affiliate links for your convenience, which means I may make a small commission at no cost to you, should you make a purchase.


Honestly this is one of the most clever DIY bottles I've seen. My kids always love watching and waiting for water beads to expand. And all 4 seasons make a great teaching tool. Well done!
ReplyDelete