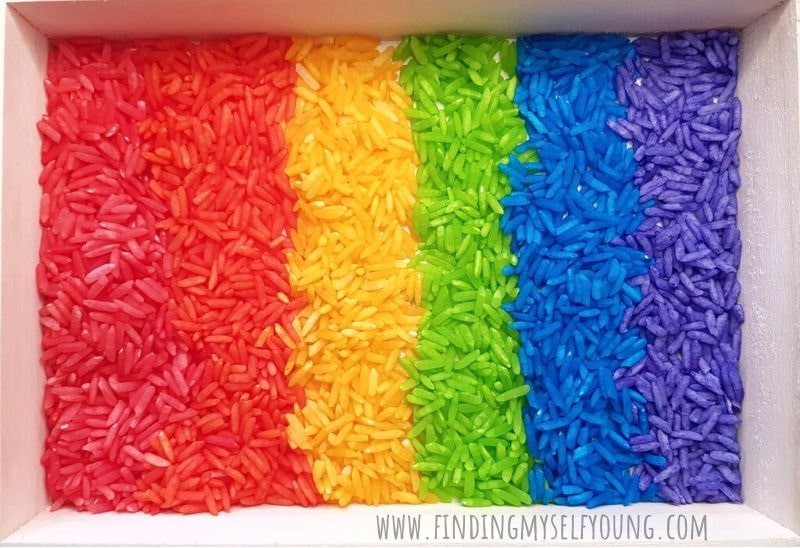
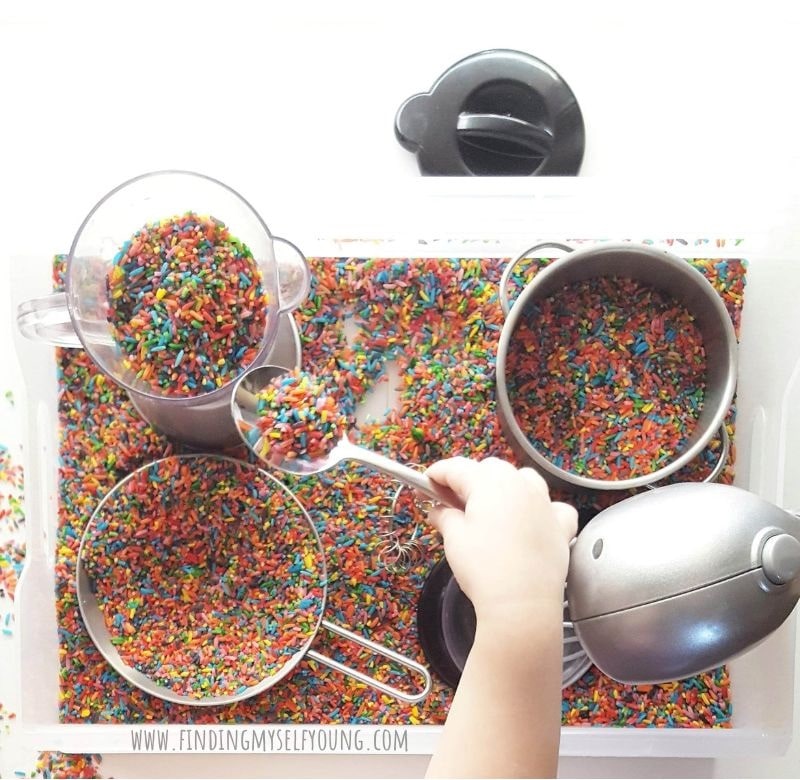
If you're new to sensory play and want to try your hand at making some sensory rice for home you've come to the right place. Sensory rice is a rather broad term incorporating different types of dyed rice or scented rice. The most popular version of sensory rice is rainbow rice and I'm going to give you step by step instructions to make your own rainbow rice in just a few minutes.
You can also use these directions to make single coloured rice or themed rice e.g. red, green & white rice for Christmas or red, white and blue rice for 4th of July.
There's a couple of different ways to dye rice for sensory play, however I find this method to be the easiest and cheapest way to make sensory rice and it also means the sensory rice is still taste safe. I definitely don't recommend encouraging children to eat the rice as it's still raw, however it does mean if they take a nibble they won't be ingesting anything nasty.
How to dye rice for sensory play
To make your own rainbow rice at home you only need a few basic pantry supplies and a couple of minutes to mix them together. It really is that simple, and there's no cooking involved.
*Although it can be made in a few minutes, the sensory rice will need an hour to dry completely to ensure it's colour fast before play, so make sure you make it ahead of time.
Supplies needed to make sensory rice
- 1 cup white rice {per colour}
- Measuring cup {optional}
- Liquid food colouring
- White vinegar
- Ziplock bag
- Baking paper
- Tray
It doesn't matter what type of rice grain you use as long as it's white so it creates a more vibrant colour when dyed. We use long grain rice in the generic home brand as it's the cheapest. Sensory rice is actually one of the cheapest sensory bases you can make, especially if you already have food colouring and ziplock bags in your pantry.
I recommend using liquid food colouring that has a squeeze top so that you can easily squeeze out individual drops and won't accidentally pour in a heap at a time. It also makes it a lot less messy if the kids are helping you make the sensory rice.
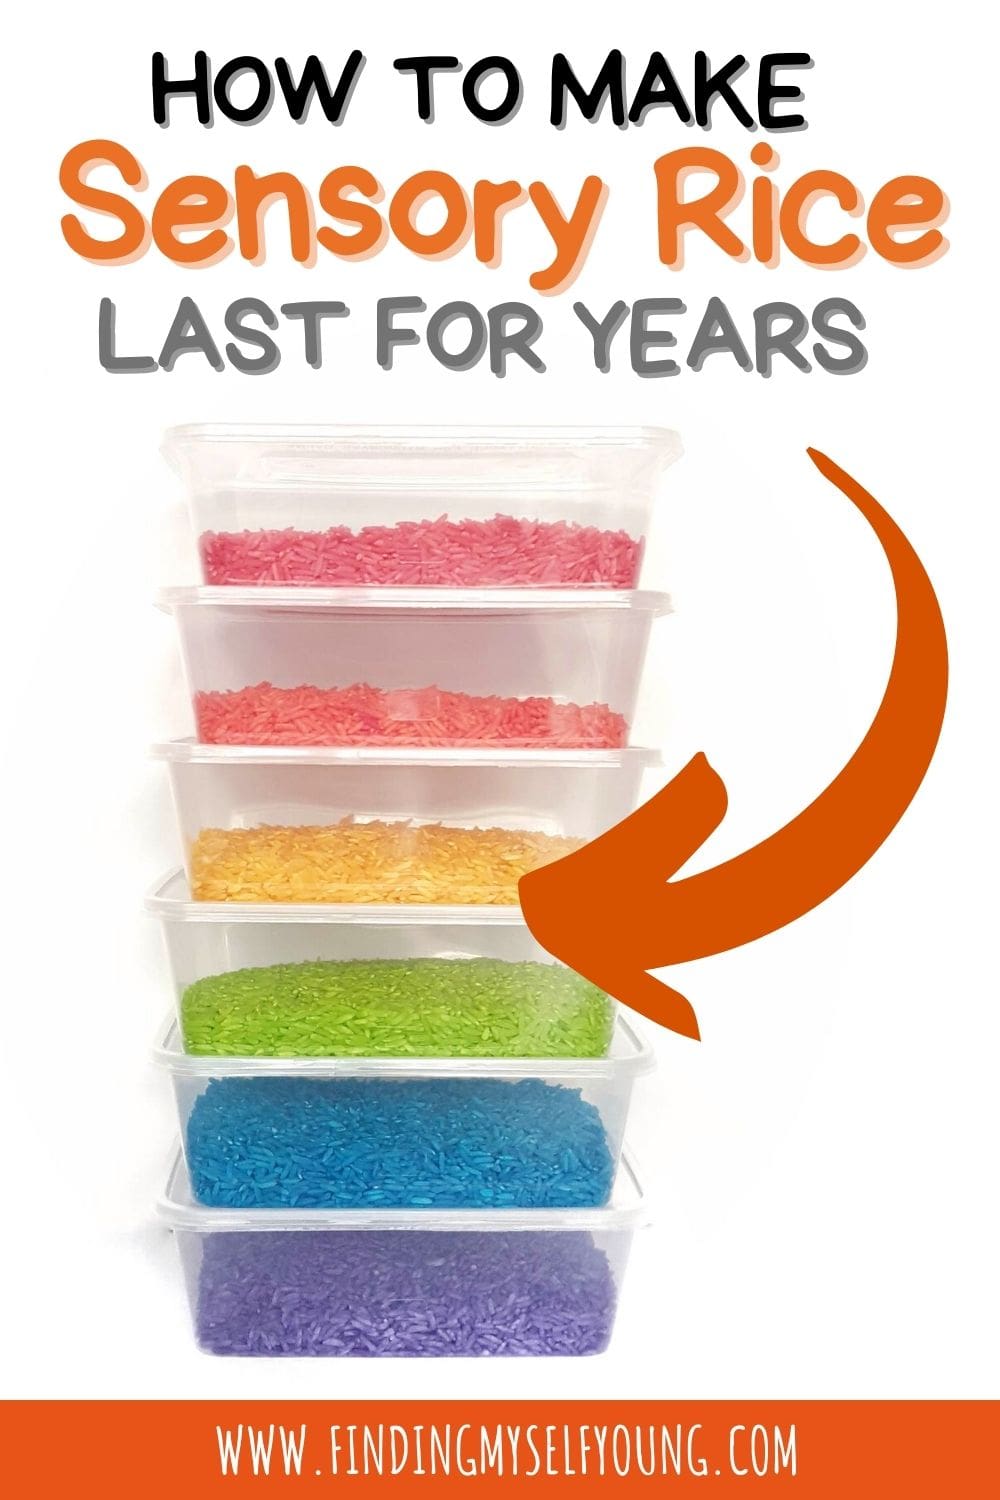
I specifically make my sensory rice using vinegar because not only is vinegar cheap, but it also makes the rice colour fast for play {once it's dry} and it prevents mould and makes your sensory rice last a lot longer. If you make sensory rice with this method and store it correctly {more tips for that below} then your rice can last for 2-5 years.
Step by step instructions to make rainbow rice.
Once you're ready to make your sensory rice, lay out all your items onto an empty bench so everything is at hand. I usually make mine in the kitchen, but you could also do it on a table top as there's no actual cooking involved.
Kids can help with each step, depending on their development skills. Making sensory rice is a great way for children to practice measurement, scooping and squeezing, however they will need supervision to make sure no rice, vinegar or food colouring is accidentally spilled. Also make sure the ziplock bags are properly sealed before allowing them to scrunch the bags.
1. Scoop one cup of uncooked white rice into a ziplock bag. 1 cup is just a guide, you can make more sensory rice depending on what you're using it for, but 1 cup is a good amount for a sandwich sized ziplock bag.
2. Add in a few drops of desired food colouring into the bag. I usually use 7-10 drops, however If you want the colour to be extra vibrant add a few extra drops.
3. Add a bottle cap full of white vinegar to the bag.
4. Seal the bag and scrunch the rice around within the bag until all of the rice is evenly dyed. Remove as much air as possible from the bag before sealing it so it doesn't pop as you're scrunching it. It will take a minute or so to spread the colour evenly across the rice. Be careful not to scrunch too aggressively and break the bag.
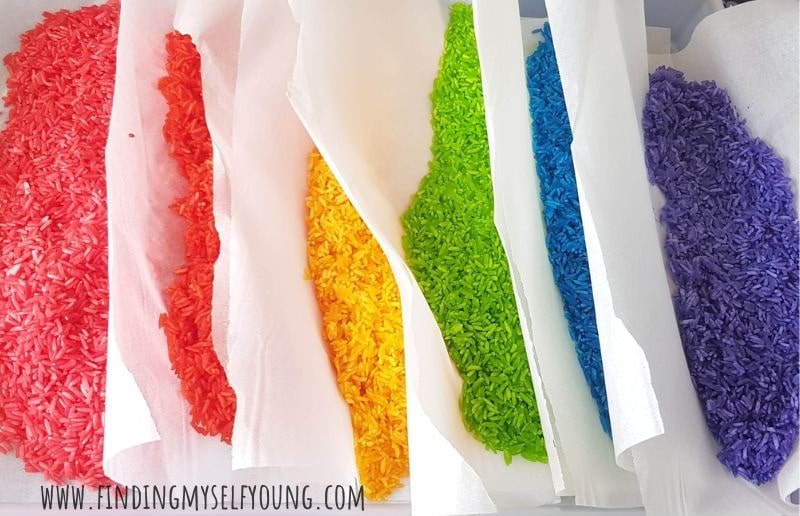
5. Lay a piece of baking paper on a flat tray and pour the dyed rice onto the tray to dry.
6. Repeat steps 1-5 for each additional colour of rice you want to make.
7. Leave the rice to dry for an hour, or overnight, until it's completely dry. This will ensure there's no colour transfer when playing. Don't be concerned if some of the rice is clumped together while wet, it will separate back into individual grains once dry. Once it's dry use the baking paper it's on to easily pour it into whatever tray or tub you're using for play.
How to store sensory rice so it lasts years
Most people who are apprehensive about using rice, or other food items, for sensory bins are concerned that it's a waste of food. A lot of people don't realise that you can use in date, or even expired rice you find at the back of the pantry, and if you store it correctly it will last for years and can be used for multiple sensory bins and activities.
How to store sensory rice
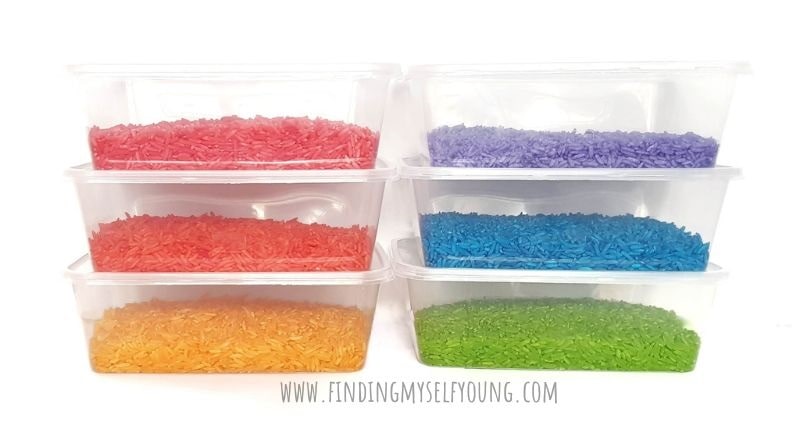
The best way to store sensory rice is in an airtight container, out of direct sunlight and in a spot where it won't be exposed to any moisture.
We store our sensory rice, separated by colours or theme e.g. red and green mix for Christmas rice, in clear 500ml plastic takeaway containers like these ones. I then stack them on shelves in our garage.
You can also store the sensory rice in ziplock bags, just be sure to let out as much air as possible before sealing them. They can then be stored together in a larger tub.
Tips to make sensory rice last longer
In addition to making sure you're storing sensory rice correctly you can also follow these tips to ensure the rice lasts as long as possible.
- Make sure kids wash their hands before use. That way you aren't introducing any germs to contaminate the rice.
- Do not use sensory rice or other sensory bases when children are sick. Again this is to prevent contamination from germs. You can however use it if you're happy to discard it after use.
- Only use sensory rice with other dry sensory bases. You can use sensory rice with other dry sensory bases such as pasta or beans, then your sensory rice can be separated and packed away to use again. Do not ever use sensory rice with wet bases as it can get wet and swell then it needs to be thrown away.
How to use rainbow rice in sensory bins
Once you've made your rainbow rice it can be used in may different ways to create learning opportunities for children of all different ages. Our favourite way to use rainbow rice is as a base for sensory bins. You can add lots of different props to the rice, however the easiest way to start introducing sensory bins is with a few scoops, spoons and bowls.
If you don't want to mix your rainbow rice together you can leave it in separate colours to use for themed sensory bins like these:
Disclosure - This post contains some affiliate links for your convenience which means I may earn a small commission, at no cost to you, should you make a purchase.

