
Fall {or Autumn if you're in Australia like us} is typically characterised by continuously falling leaves in different shades of orange. This is because deciduous trees adapt to the change in season by losing their leaves, in order to conserve water and energy in preparation for winter. During this time falling leaves and piles of red, orange and yellow leaves on the ground are a common sight.
Unfortunately there aren't many Maple, Oak or Ash trees in our neighbourhood so my kids don't get to experience the joy of jumping in Autumn leaves. However, I decided to make our own DIY fall sensory bottle which mimics how the leaves fall off the trees so they can still see what it's like. It's one of the seasonal sensory bottles we've been making to display at home.

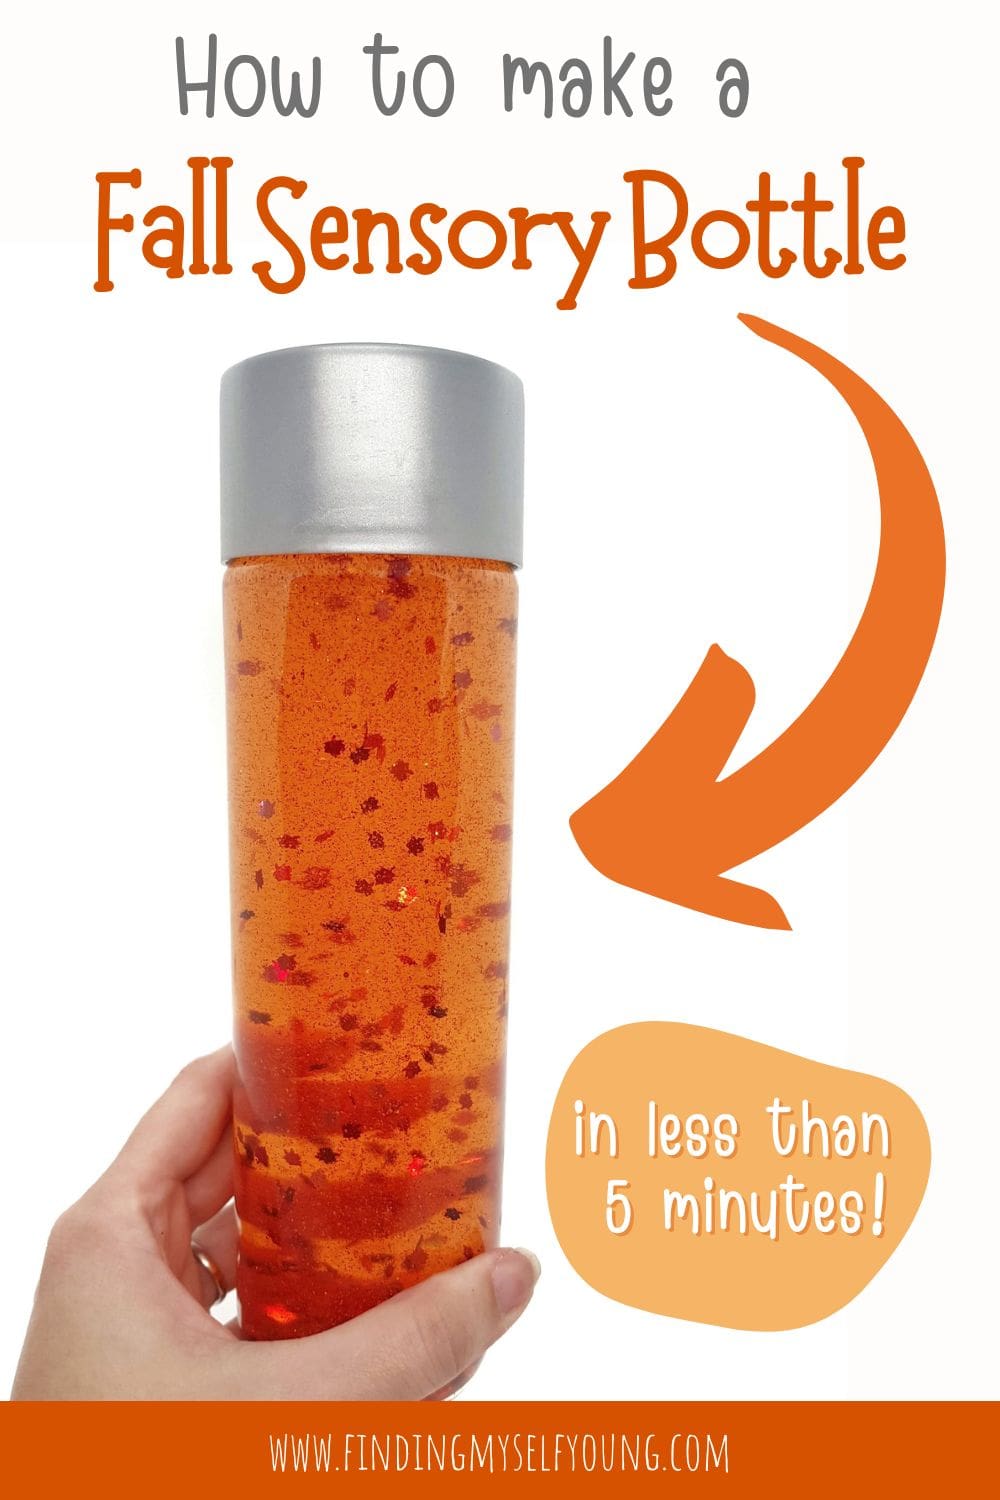
DIY FALL LEAF SENSORY BOTTLE
This leaf sensory bottle is a great fall sensory play option for kids to do indoors without any mess. It's also a great way for children like mine, who don't get to see leaves falling in real life, to experience what it's like without having to travel anywhere else.
.jpg)
Supplies to make a fall sensory bottle
- Elmers clear glue 147ml
- 500ml empty plastic water bottle {we use Voss bottles}
- 350 ml tempered water
- Maple leaf confetti
- Orange food colouring
- Orange or gold loose glitter {optional}
- Fork
- Jug
We make a lot of sensory bottles so I bought a bulk pack of Voss plastic bottles from Amazon AU a while ago as it's the only place I could find the plastic bottles lately. They also sell them individually if you don't need many. Don't worry if you don't have Voss bottles though, you can use any empty plastic bottle.
I found it a bit difficult to find leaf confetti in our local shops so I ended up buying maple leaf nail glitter online {similar to this one}. It came with 12 different colours, so I just used a mix of the ones that were orange and red. You can get them from Amazon here if you're not in Australia.

The leaf nail glitter is a bit thinner than normal foil scatter confetti so I was a little concerned it might not work as well in the sensory bottle, however after making it I can say it works perfectly fine. So, if that's what you end up using don't worry, it will look amazing.
HOW TO MAKE A DIY FALL SENSORY BOTTLE
Like most of our other sensory bottles, this one is really easy to make and can be put together in under 5 minutes. My 5yr old basically made the sensory bottle herself with the exception of pouring the liquid.
1. Empty clear glue into the jar. It's easiest to do this with the whole lid removed.

2. Add tempered water to the jug and stir with a fork until the glue is completely dissolved in with the water.
3. Add a few drops of orange food colouring to the water and stir. We didn't have orange so we just used a few drops of yellow and red food colouring.
4. Carefully pour the orange water into the empty plastic bottle.
5. Add the leaf confetti into the bottle. You can add as much as you want.

6. Add glitter {optional}.
7. Secure bottle lid and shake. You can secure the bottle lid with tape over the top, or use a layer of hot glue inside the rim of the lid before closing it.
You can see in the video how the leaves gently fall down and how they collect at the bottom of the bottle even mimics how leaves pile up underneath the trees. They also reflect many different colours as they catch the light, so they all look different as they're falling. This is one of my favourite sensory bottles we've ever made as it's so relaxing and pretty to watch.

MORE SEASONAL SENSORY BOTTLES

Disclosure - This post contains some affiliate links for your convenience, which means I may make a small commission at no cost to you, should you make a purchase.


