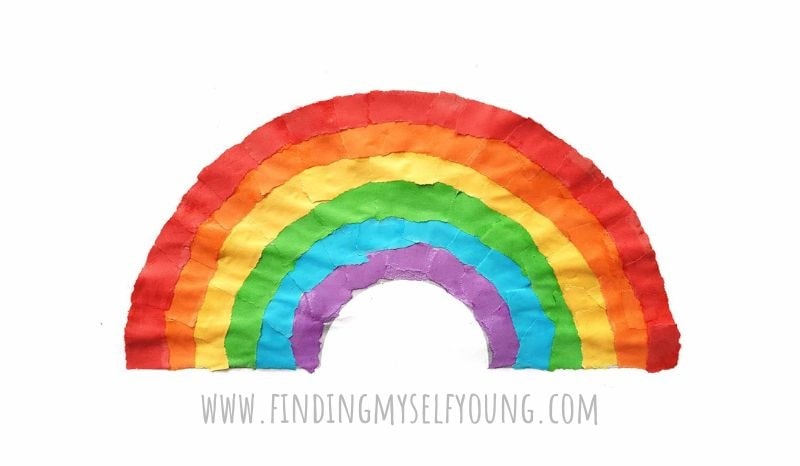
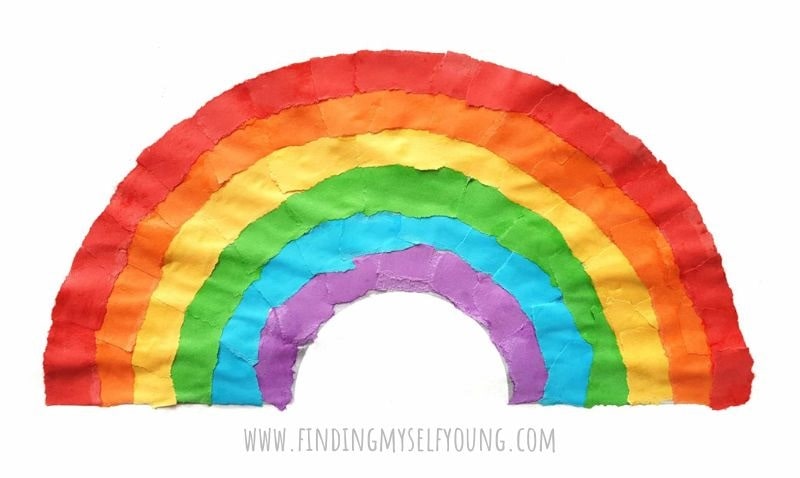
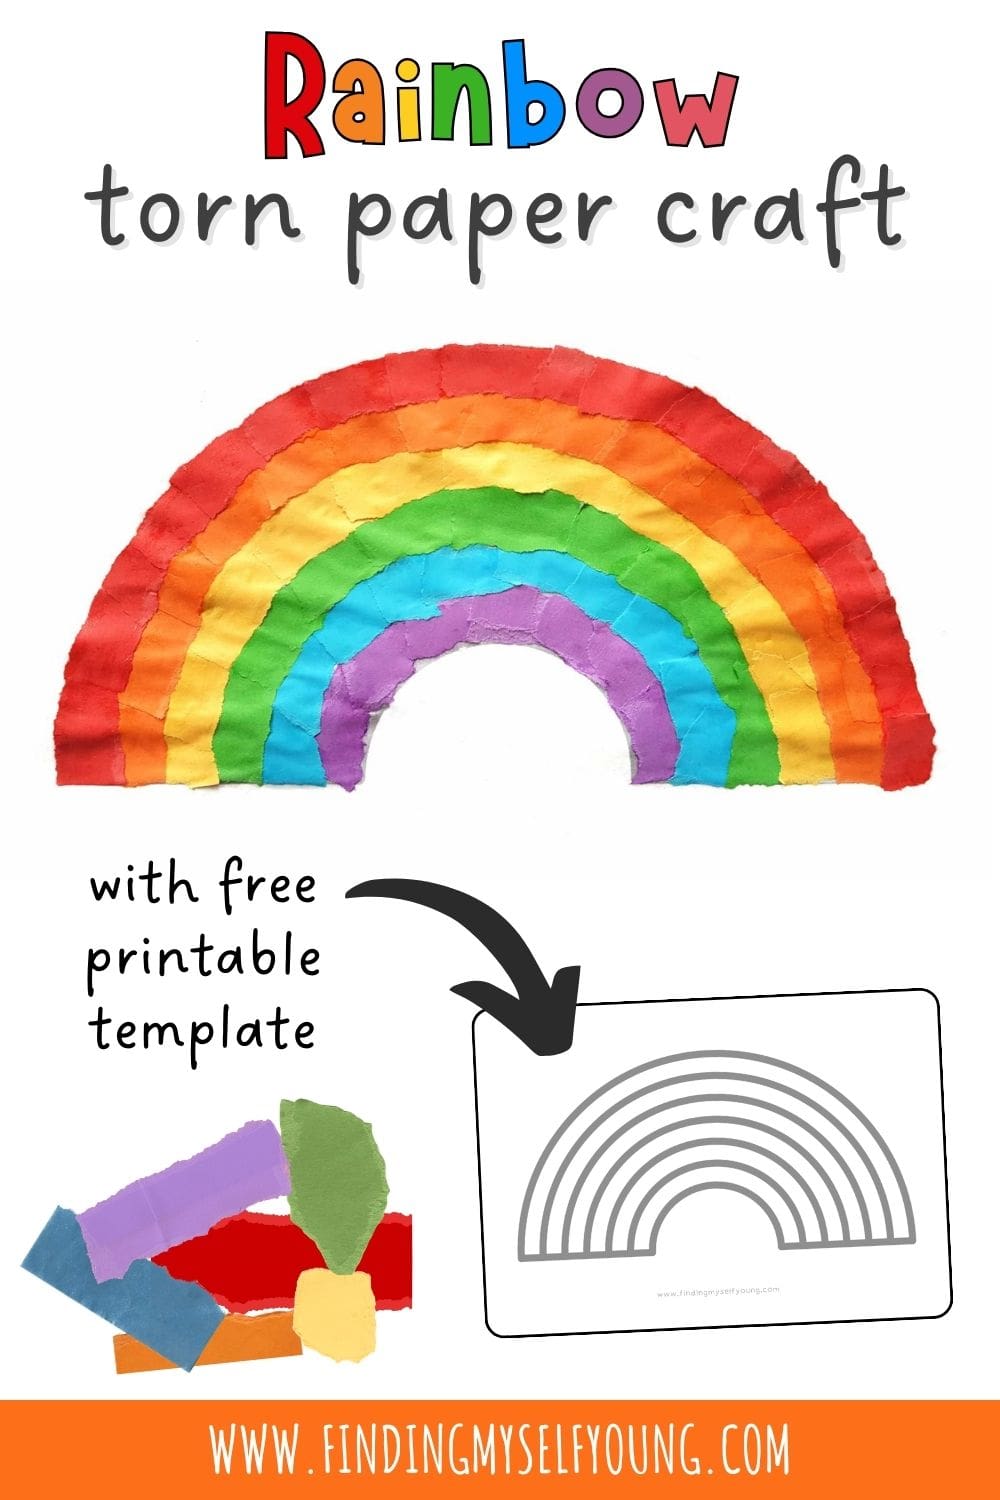
This torn paper rainbow craft is the perfect craft to do at home or in the classroom when children are learning about colours, the weather, spring or St Patrick's Day!
With just a few simple craft supplies and our free printable rainbow outline template your kids can create a colourful masterpiece in no time. Plus it's a great way to build important fine motor skills.
TORN RAINBOW PAPER CRAFT
This torn paper rainbow craft will appeal to children of all ages from toddlers through to school kids, especially ones who like tearing things. Ripping paper is a great sensory and fine motor activity that satisfies children's need for heavy work {proprioception sensory input} and helps to build their fine motor skills while strengthening hand muscles. It also helps develop hand/eye co-ordination and bilateral co-ordination.
It's also a fun, hands-on way to teach children the colours of the rainbow. If you're doing this craft with young children don't worry if they glue the colours in the wrong sections, or don't fill each row completely, they'll still be building lots of developmental skills as they create. Remember to embrace the process instead of expecting a perfect masterpiece.
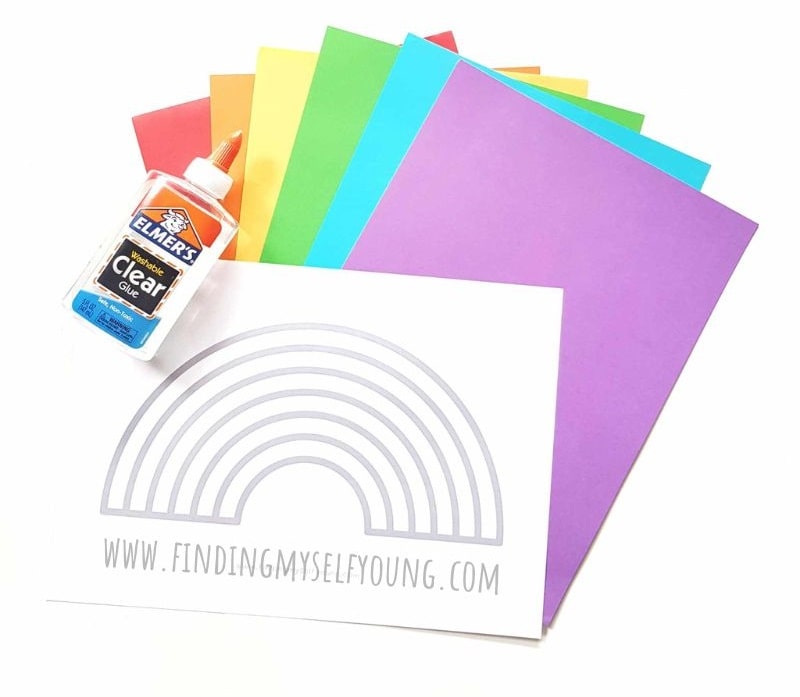
Supplies Needed:
- Coloured paper
- White paper
- Free template
- Glue
There are 6 rows on the rainbow template so you'll need 6 different colours of paper - we chose red, orange, yellow, green, blue and purple to keep with rainbow order. Some children may want to include pink in their rainbow too, just work with what you have on hand.
HOW TO MAKE A TORN PAPER RAINBOW
1. Print rainbow template onto white paper.
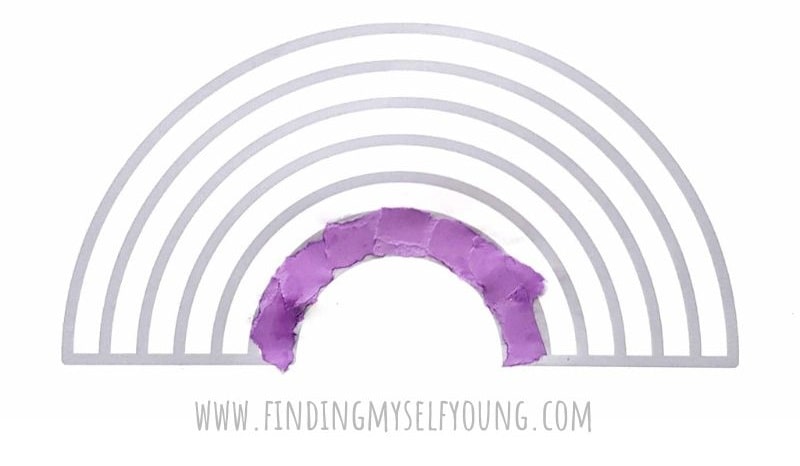
2. Tear coloured paper into small pieces. You'll only need enough of each colour to do one row, so each sheet of paper can be used to make a few rainbows {or save the excess for other crafts}. The torn pieces only need to be about 1cm wide to fit into the rows.
3. Glue on coloured paper. Start with the bottom layer and work up towards the outer layer. It's easier to put the glue onto the template then push the pieces of paper onto it firmly.
Tip: If you're doing this craft with younger kids who may not remember the correct order of the rainbow colours, you can either write the colour in pencil in each row, or glue one piece of the correct colour onto each row as a guide.
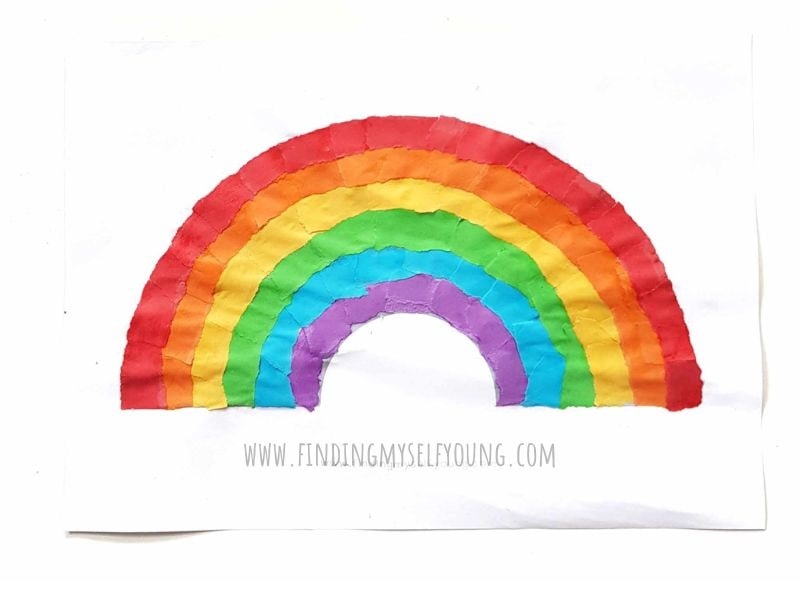
4. Repeat until all rows are done. Once finished, set aside to dry.
If you want to preserve the finished rainbow artwork, I recommend framing it or laminating it. If you don't want to keep the finished rainbow after it's been displayed for a while there are many ways you can upcycle the artwork {e.g. gift to family or cut up for collages}.
DOWNLOAD FREE PRINTABLE RAINBOW TEMPLATE
Click the download template button below to download the free printable rainbow outline template to your device. The template is a single A4 PDF, however you can print as many copies as you need.
Please note that this rainbow template is for personal and classroom use only and cannot be digitally uploaded, shared or sold on any platform. If you want to share this craft please link back to this blog post directly.
MORE RAINBOW IDEAS
Disclosure - This post contains some affiliate links for your convenience, which means I may earn a small commission at no cost to you, should you make a purchase.

